Showing posts with label Uber Mat. Show all posts

Sunday, 16 October 2016

NOTD: Frankenstein


I was really excited to do these and I love how they have turned out! I smudged Frankenstein's face a little bit though :(
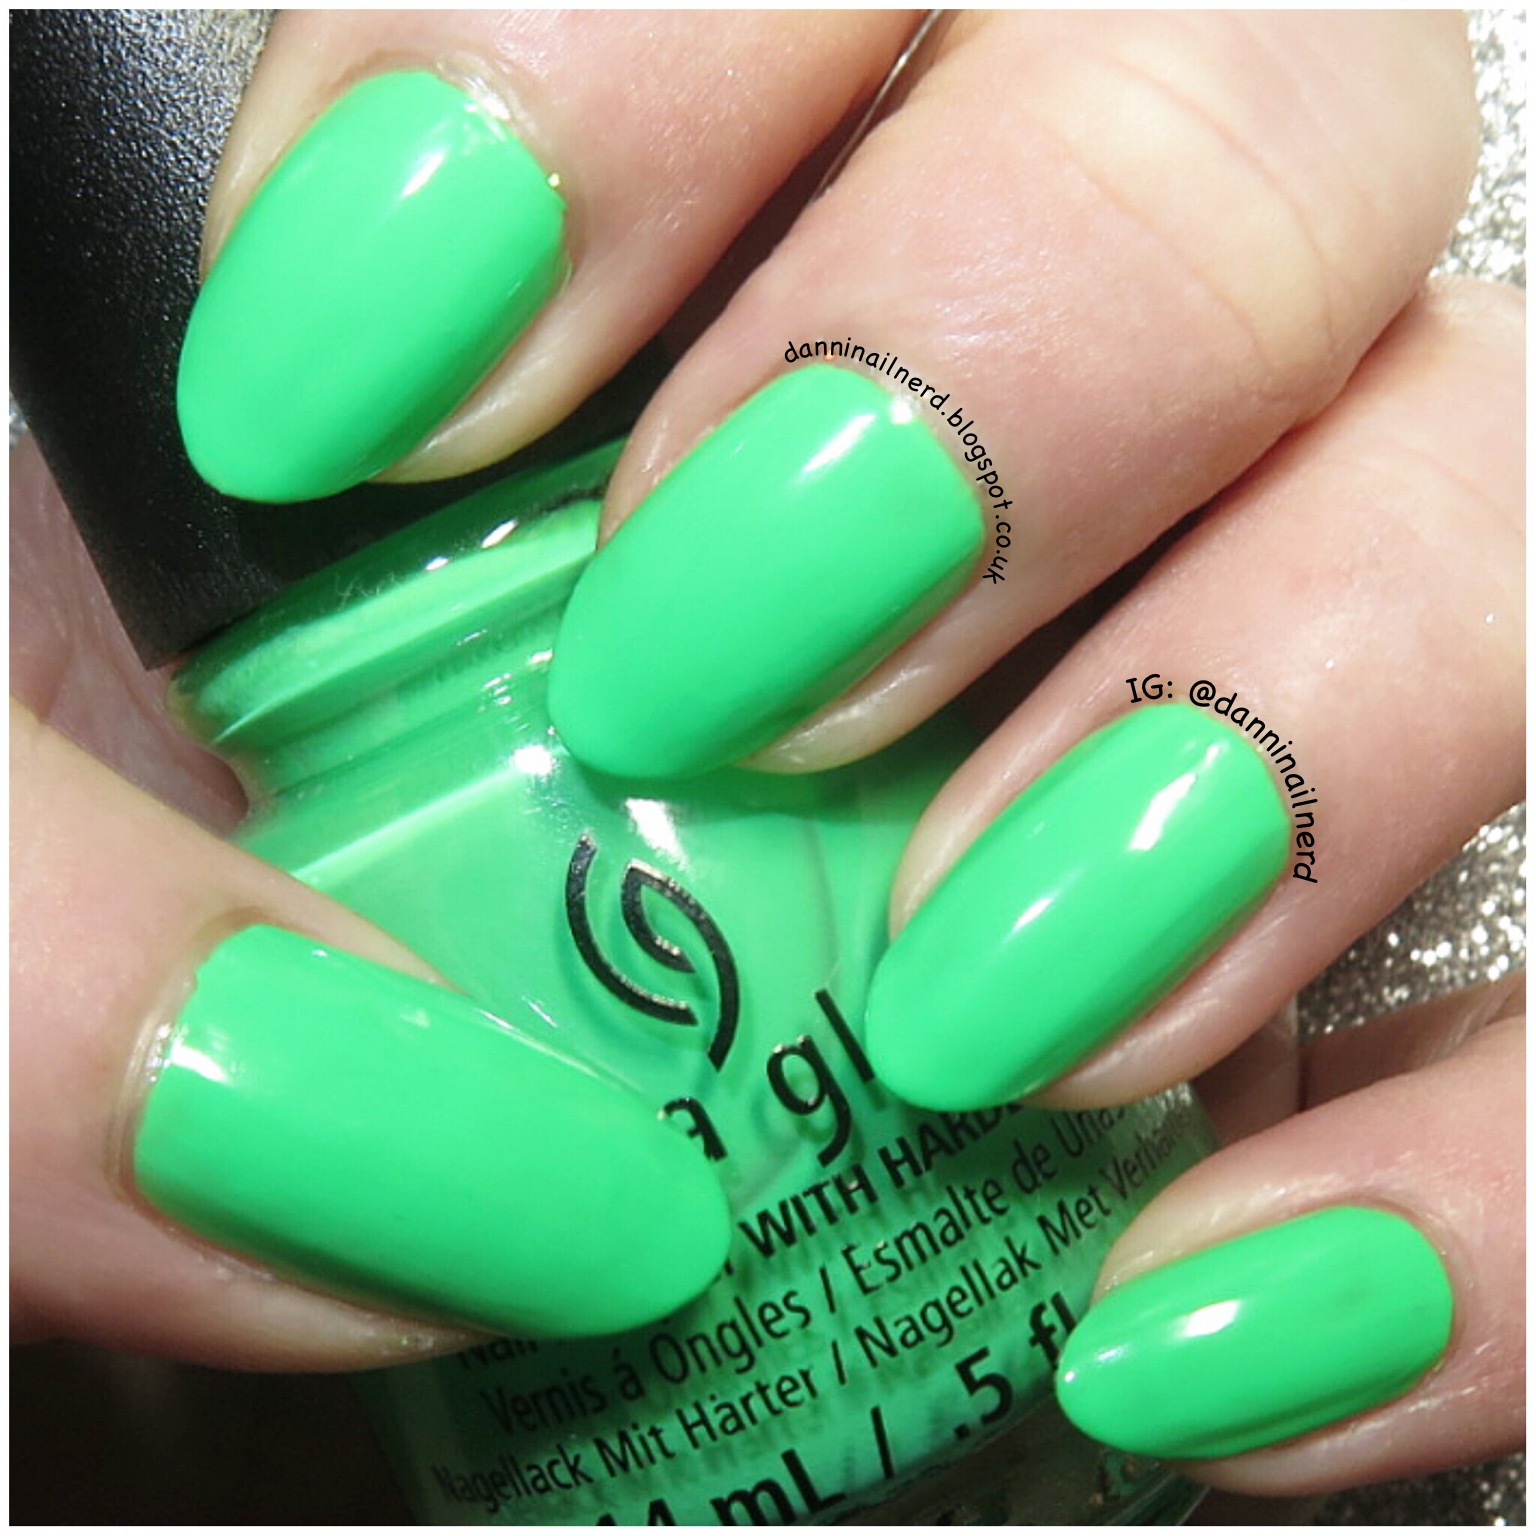


To begin as always I applied a base coat to all nails. Then I painted 2 coats of China Glaze Treble Maker.
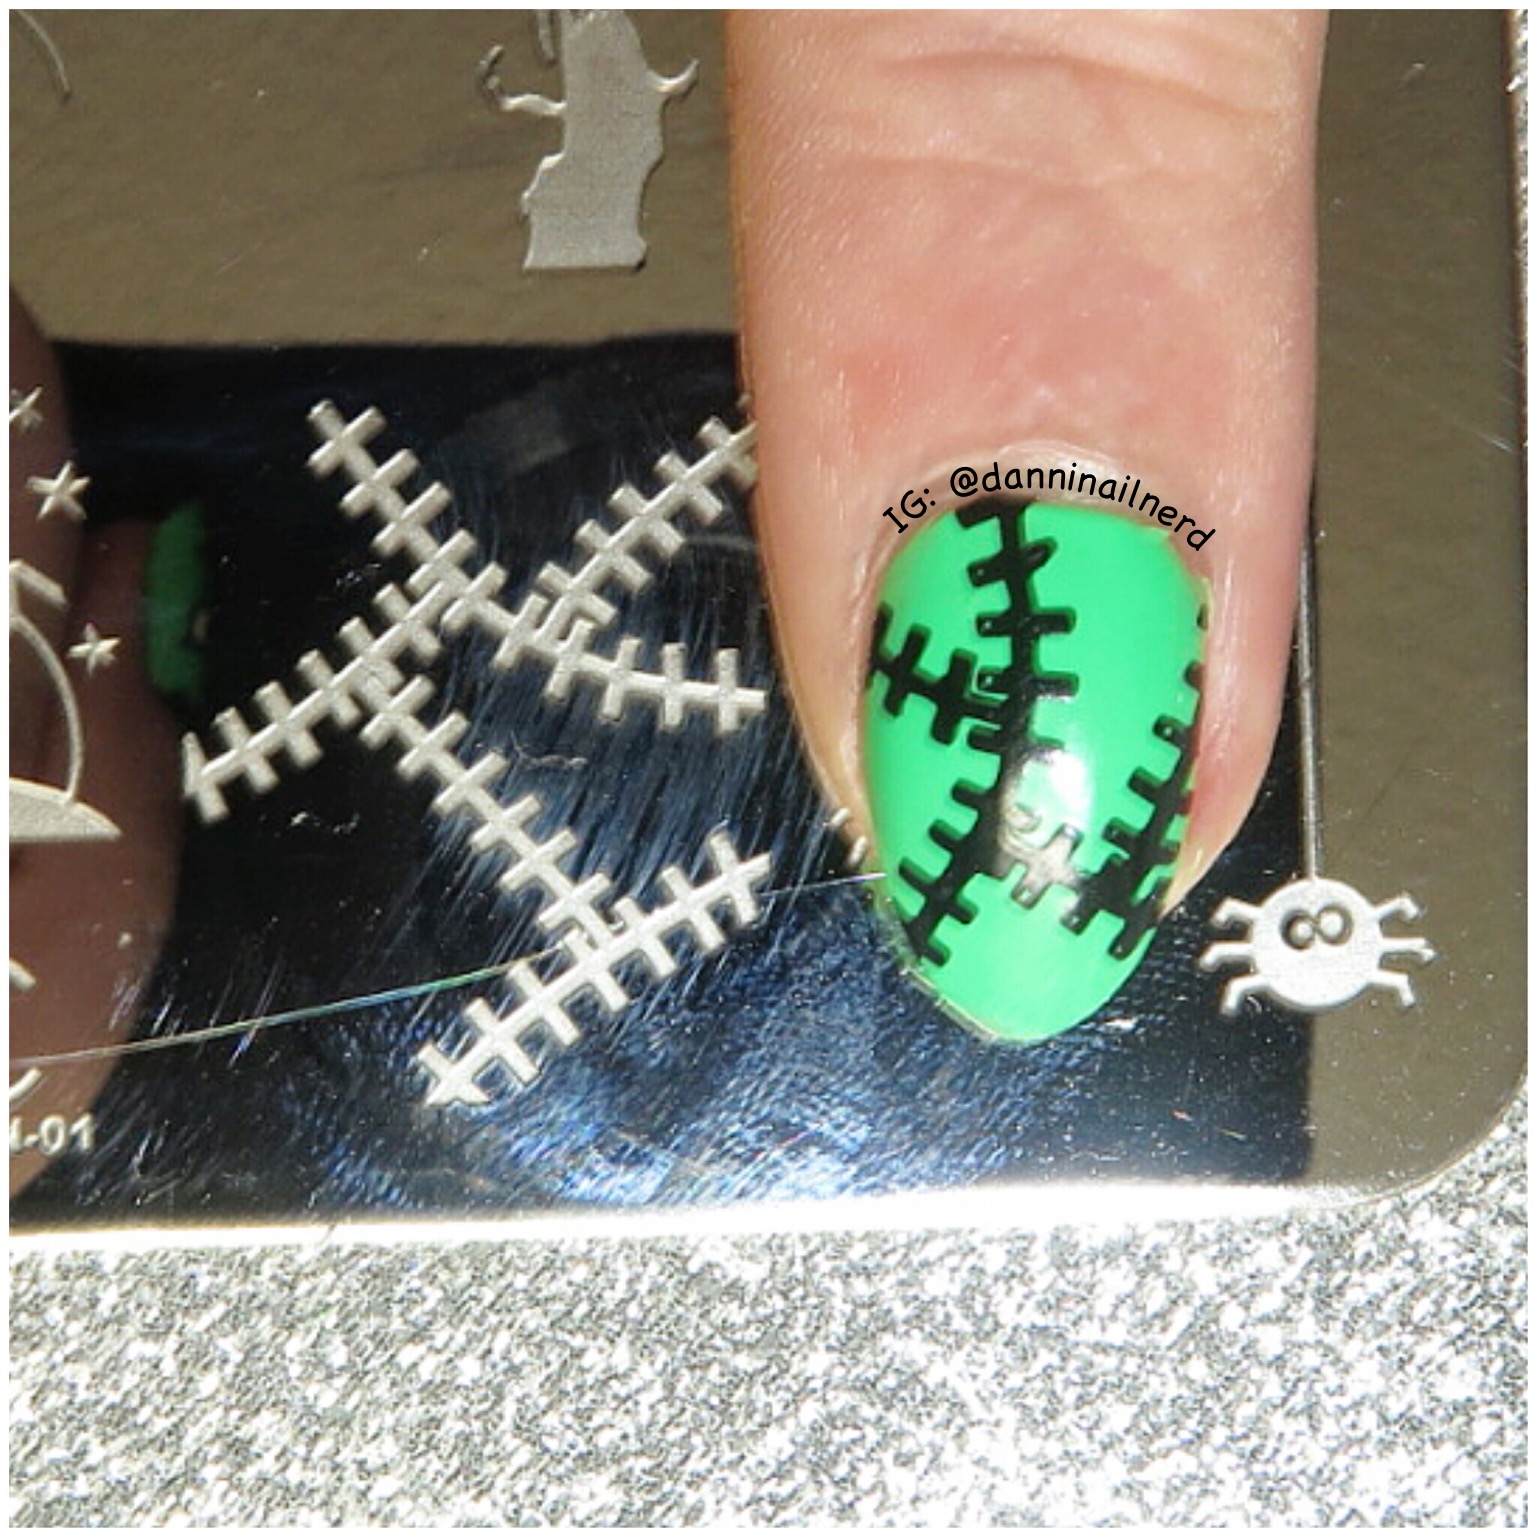


On all nails apart from my middle finger I stamped this stitch image from Uber Chic Beauty plate Halloween-01. I stamped with Born Pretty Store black stamping polish and Bundle Monster Monocle stamper.


Again using the same plate, polish and stamper I created a decal of Frankenstein's face using the Uber Chic Beauty Uber Mat. I coloured in the eyes with Barry M Cotton using a dotting tool. I messed up a little because I let the polish get too gloopy, but luckily you can't see it too much once applied. To apply I peeled up the decal, applied a clear coat to my nail, then pressed the decal onto my nail. I used a plastic cuticle pusher to help get rid of any bubbles and creases.


To finish I applied a coat of Barry M Matte Top Coat.


As always thank you for visiting and if you have any questions or anything to say then please comment below :)

To follow me on other sites simply click any of the buttons below to head to my page.


Monday, 18 July 2016

NOTD: Turquoise Stones


I have wanted to do these for so long now, but me mixing nail polish and water just does not work! So when I got this hehe plate I knew it would be perfect for doing this stone effect. I love them!


To begin as always I applied a base coat to all nails. Then I painted 2 coats of China Glaze Turned Up Turquoise.


To apply 'Ard As Nails #Angel I placed a drop on my Uber Mat and dipped into it some scrunched up cling-film. I then dabbed the cling-film onto my nail until I was happy with the coverage.


I then stamped this image from hehe plate 081 using MoYou London Black Knight.


To finish I applied a top coat, for a change from my normal Seche Vite I decided to use Barry M Gelly Plumpy Top Coat. I knew it would still give a great shine and I was surprised that it also dried really quickly too!


As always thank you for visiting and if you have any questions or anything to say then please comment below :)

To follow me on other sites simply click any of the buttons below to head to my page.


Tuesday, 24 May 2016

NOTD: Kitty's Secret Treasure


Well as you can see my reverse stamping isn't really that great! But practice makes perfect so I will keep trying to get better :) Luckily the holo makes up for it <3


To begin as always I applied a base coat to all nails. Then on my thumb, index and little finger I painted 2 coats of the beautiful 'Ard As Nails Kitty's Secret. On my middle and ring finger I painted 2 coats of Next Sugar Almond.


For reverse stamping I use the Uber Chic Beauty Uber Mat. Firstly I applied a clear coat then stamped this diamond pattern from Uber Chic Beauty plate 2-02 using MoYou London Black Knight. Then I coloured in the diamonds with Kitty's Secret using a dotting tool.


To finish I applied a top coat of Seche Vite.


As always thank you for visiting and if you have any questions or anything to say then please comment below :)

To follow me on other sites simply click any of the buttons below to head to my page.


Wednesday, 23 December 2015

NOTD: Poinsettia


LOVE these!! So Christmassy! Have seen quite a few Poinsettia nails and this Uber Chic Beauty stamp is just so beautiful I had to use it!


To start as always I painted a base coat on all nails. Then on my thumb, index and little finger I painted 1 coat of China Glaze Counting Carats and applied some more with a make-up sponge. On my middle and ring ringer I painted 2 coats of Barry M Coconut.


I then used the Uber Chic Beauty Uber Mat to create the Poinsettia decals. Firstly I stamped the Poinsettia from Uber Chic Beauty plate Christmas-01 using MoYou Black Knight. I then filled in the leaves, first using Barry M Sparkling Ruby, then with China Glaze It's Alive.


Once they were dry I peeled them off and applied like a normal decal on my middle and ring finger. Before putting top coat on you can't see the glitter as well, but it comes back once top coat is applied.


So to finish I applied a top coat of Seche Vite and now look at the Pointsettia's!


As always thank you for visiting and if you have any questions or anything to say then please comment below :)

To follow me on other sites simply click any of the buttons below to head to my page.


Wednesday, 9 December 2015

NOTD: You Can't Catch Me I'm The Gingerbread Man!


As soon as I got my new Uber Chic Beauty Christmas stamping plate this gingerbread man pattern stood out to me, so I just had to use it straight away!


To start as always I painted a base coat on all nails. Then on my thumb, middle and ring finger I applied 2 coats of Barry M Coconut. On my index finger I painted 2 coats of A England Saint George and on my little finger 2 coats of Barry M Sparkling Ruby. I did use sparkling Ruby in my last mani, but it is just such a perfect colour for Christmas manis!


To create my gingerbread man decals I used the amazing Uber Mat from Uber Chic Beauty, and I also used their Christmas-01 stamping plate. I stamped this image onto the Uber Mat using MoYou London Black Knight, I then coloured in gingerbread men with A England Sparks Divine. I applied a top coat over this and allowed to completely dry. Once dry I peeled of and applied like a normal decal.


To finish this mani off I applied a top coat of Seche Vite to all nails.


As always thank you for visiting and if you have any questions or anything to say then please comment below :)

To follow me on other sites simply click any of the buttons below to head to my page.


Saturday, 1 August 2015

NOTD: Flamingoooss!!


Yayyy Flamingoooss!! I have loved seeing all the flamingo themed stuff lately so when I finally got a flamingo stamping plate the other day I knew I had to use it for my next mani :)


As always I applied a base coat on all my nails. Then on my thumb and ring finger 2 coats of China Glaze White On White, on my index and littl finger 2 coats of Sally Hansen Insta-Dri Peachy Breeze and on my middle finger 2 coats of F.U.N Lacquer King.


On the 2 nails painted with Peachy Breeze I stamped this pattern from MoYou Tropical plate 15 using Konad White stamping polish.


On the 2 nails painted white I used these chevron nail vinyl stickers from She Sells Seashells and placed them horizontally along my nail. Then I painted over with Barry M Green Berry and carefully removed the stickers.


I then created my own nail decal using the Uber Mat from Uber Chic Beauty, below is a picture of the whole mat and you can buy it here.
I painted a clear coat on the mat first, then I stamped this flamingo again from MoYou Tropical Collection plate 15 using MoYou black stamping polish. I then used Peachy Breeze to fill in the flamingo using a dotting tool. I then peeled off the decal (which thanks to the mat was really easy) and after applying a clear coat to my nails stuck it on.
I highly recommend buying this mat, it is perfect for making lots of decals at once!


To finish the mani I painted a top coat of Seche Vite!


As always thank you for visiting and if you have any questions or anything to say then please comment below :)
To follow me on other sites simply click any of the buttons below to head to my page.