Showing posts with label OPI Honey Ryder. Show all posts

Friday, 12 June 2015

NOTD: Under The Sea


I'm not entirely happy with how this ended up, but here it is anyway!


To start I painted a base coat on all nails as always. Then on my thumb, middle and ring finger I painted 1 coat of China Glaze White On White. On my index and little finger I painted 1 coat of OPI Honey Ryder.


For the gradient I used Barry M Green Berry, China Glaze Turned Up Turquoise and Barry M Damson. I got quite a few bits of the sponge stuck on my nails when doing this gradient, I normally don't have it happen this much so I was a bit annoyed!
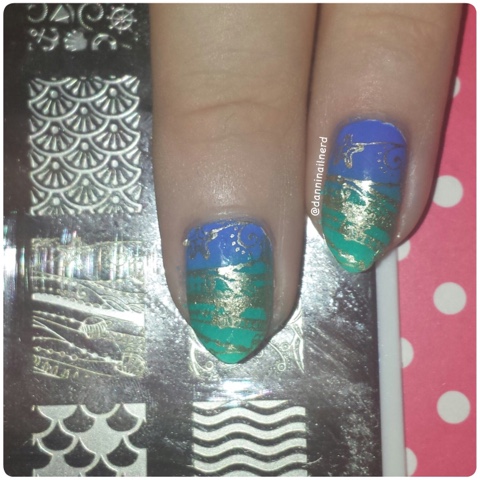


For the stamping I used Barry M Gold Foil and stamped this wave an shell pattern from MoYou Sailor Collection plate 04. I could have stamped this a bit better, so this is also another reason why I am not very happy with this mani.


I applied a top coat of Seche Vite, but not on the OPI texture polish and that is the mani finished!


As always thank you for visiting and if you have any questions or anything to say then please comment below :)
To follow me on other sites simply click any of the buttons below to head to my page.


Monday, 8 December 2014

Holly, Candy Canes & Glitter


My first Christmas mani for this year :)
...Well unless you wanna count the Frozen mani last month!


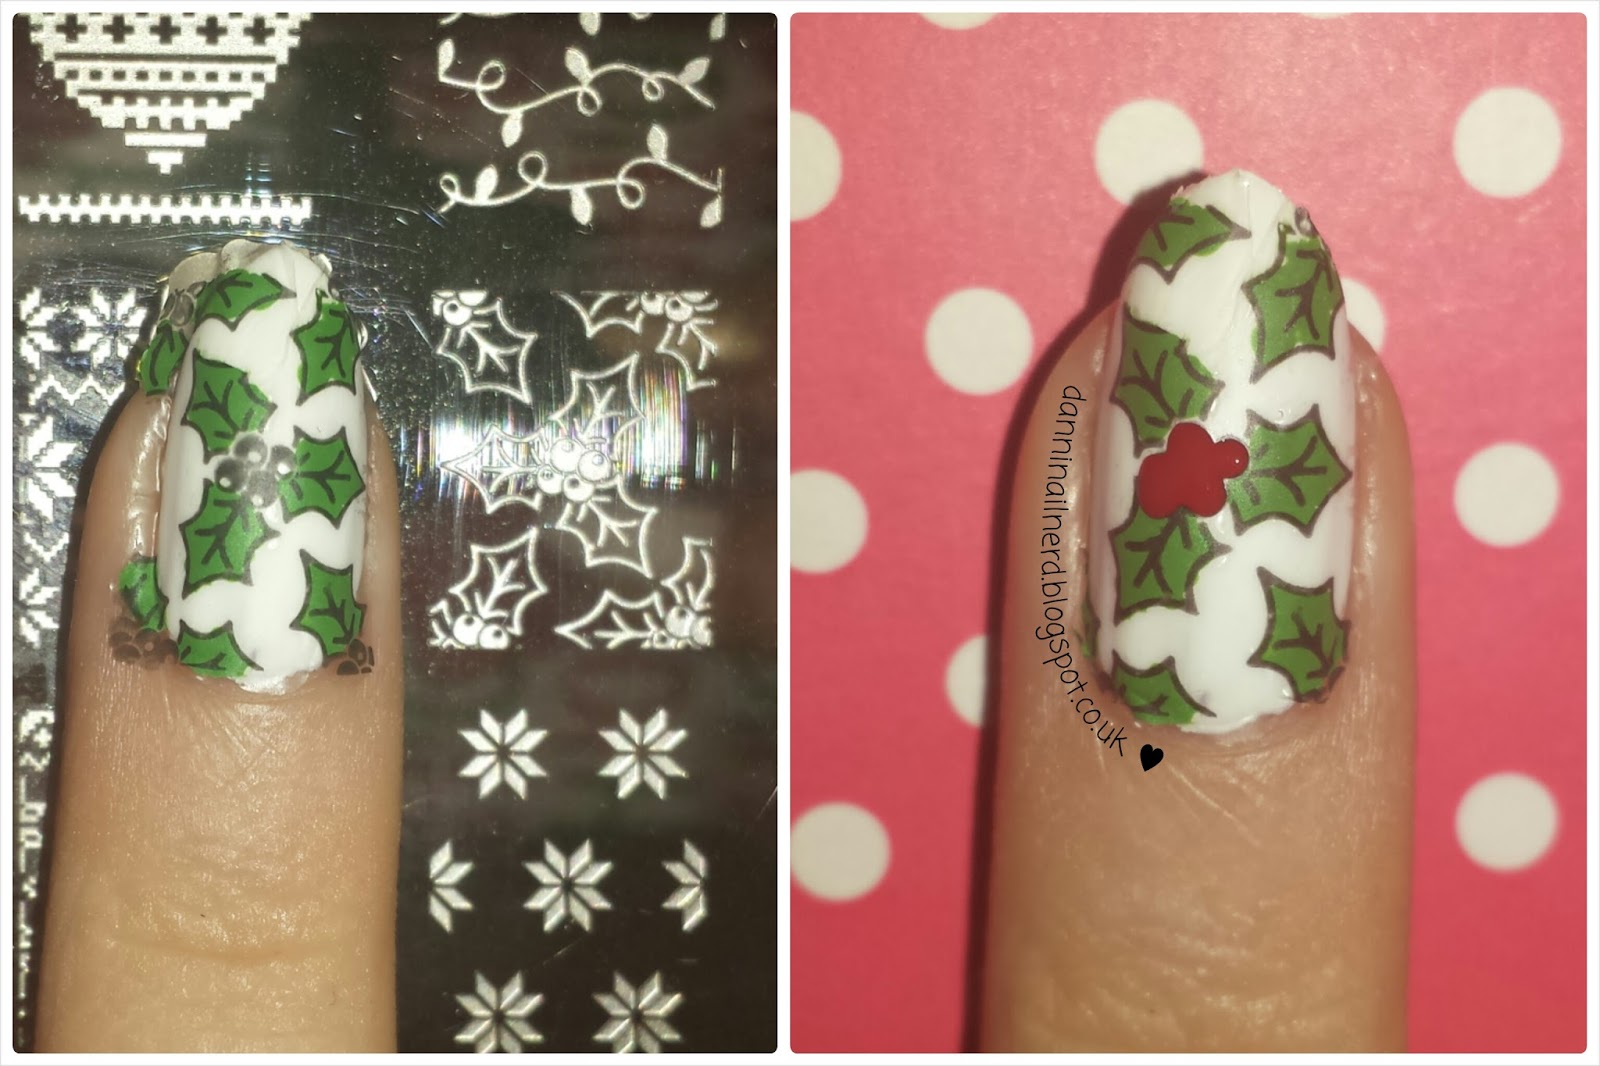
I applied my base coat as always. Then on my thumb, index, ring and little finger I applied 2 coats of China Glaze White on White. On my middle finger I applied 2 coats of OPI Honey Ryder.


For my ring finger I created a decal by stamping this holly pattern from MoYou Festive plate 06 and leaving it on the stamper. I filled in the green leaves with Sally Hansen Insta-Dri In Record Lime while it was still on the stamper, then painted over a clear coat so that I could peel it off. Then I applied a clear coat to my nail and stuck down the decal. I then used a dotting tool to fill in the berries with Sally Hansen Insta-Dri Rapid Red. Although if I did this again I would probably try to stamp the berries red as then there would still be the pattern on the berries to match the leaves.


On the rest of the white nails I used Rapid Red again to stamp the stripe candy cane pattern from the same MoYou plate as the holly.


To finish I applied Seche Vite to all nails apart from the gold as that is a texture polish.


As always thank you for visiting and if you have any questions or anything to say then please comment below :)


Monday, 8 September 2014

31 Day Challenge 2014: Day 28 - Inspired by a Flag (Union Jack)


Had to pick the Union Jack really, only a few more manis left! Can't wait to finish this challenge now, although it has been good to do.


I painted a base coat on all my nails. Then on my thumb, middle and ring finger I applied 2 coats of China Glaze White on White. Then on my index and little finger I applied 2 coats of OPI Honey Ryder.


Then for the Union Jack. I am really bad at doing free hand stuff so this is not brilliant!
First I used a nail art brush to paint the red stripes vertically and horizontally and then diagonally using Sally Hansen Insta-Dri Rapid Red. Then I painted the triangles in-between using China Glaze First Mate. As I said I am really bad at free hand, so I didn't worry about being too neat with the colours as after I went in with the white Barry M nail art pen to neaten it up. This definitely helped me a lot!


On the other two white nails, my thumb and ring finger, I have done polka dots. First I stamped the polka dot pattern from Cheeky plate CH6 with Rapid Red. Then on the alternate lines of dots I used a dotting tool to fill them in with First Mate.


After a little clean-up I then painted Seche Vite on just the thumb, middle and ring finger as OPI Honey Ryder is a texture polish, and that is the mani finished!


As always thank you for visiting and if you have any questions or anything to say then please comment below :)


Thursday, 15 May 2014

31 Day Challenge 2014: Day 8 - Metallic


So day 8 is metallic. I wasn't really sure what to do for this, but I had recently bought some electrical insulation tape so that I could use the patterned scissors I have for nail art. So here it is...


Firstly I applied a base coat. Then on my thumb, middle and ring finger I painted 2 coats of Sally Hansen's Insta-Dri in Peachy Breeze. On my index and little finger I painted 2 coats of OPI's Liquid Sand in Honey Ryder.


I ordered some electrical pvc insulation tape from Amazon to create my own vinyl stickers. I had looked online for vinyl stickers and they were so expensive. So I was looking on YouTube and saw a couple vidoes where people had got this tape so I got some! The tape I got was only £1.57 for a 19mm x 33m roll, and the listing I linked to is for black tape, but it can be bought in many other colours.
I used these zig zag scissors from a caddy set I got from Yellow Moon to create little chevron stickers. I then stuck them to a plastic wallet so that they will stay there for the next time I want to use any, and so that they aren't difficult to remove.


I then stuck these stickers to my nail as shown and painted over with Barry M's Gold Foil.


Once this was dry I applied a top coat of Seche Vite to the thumb, middle and ring finger. And that is the finished mani :)

Although I wasn't entirely sure what to do for metallic nails I think this has turned out quite well!


As always thank you for visiting and if you have any questions or anything to say then please comment below :)