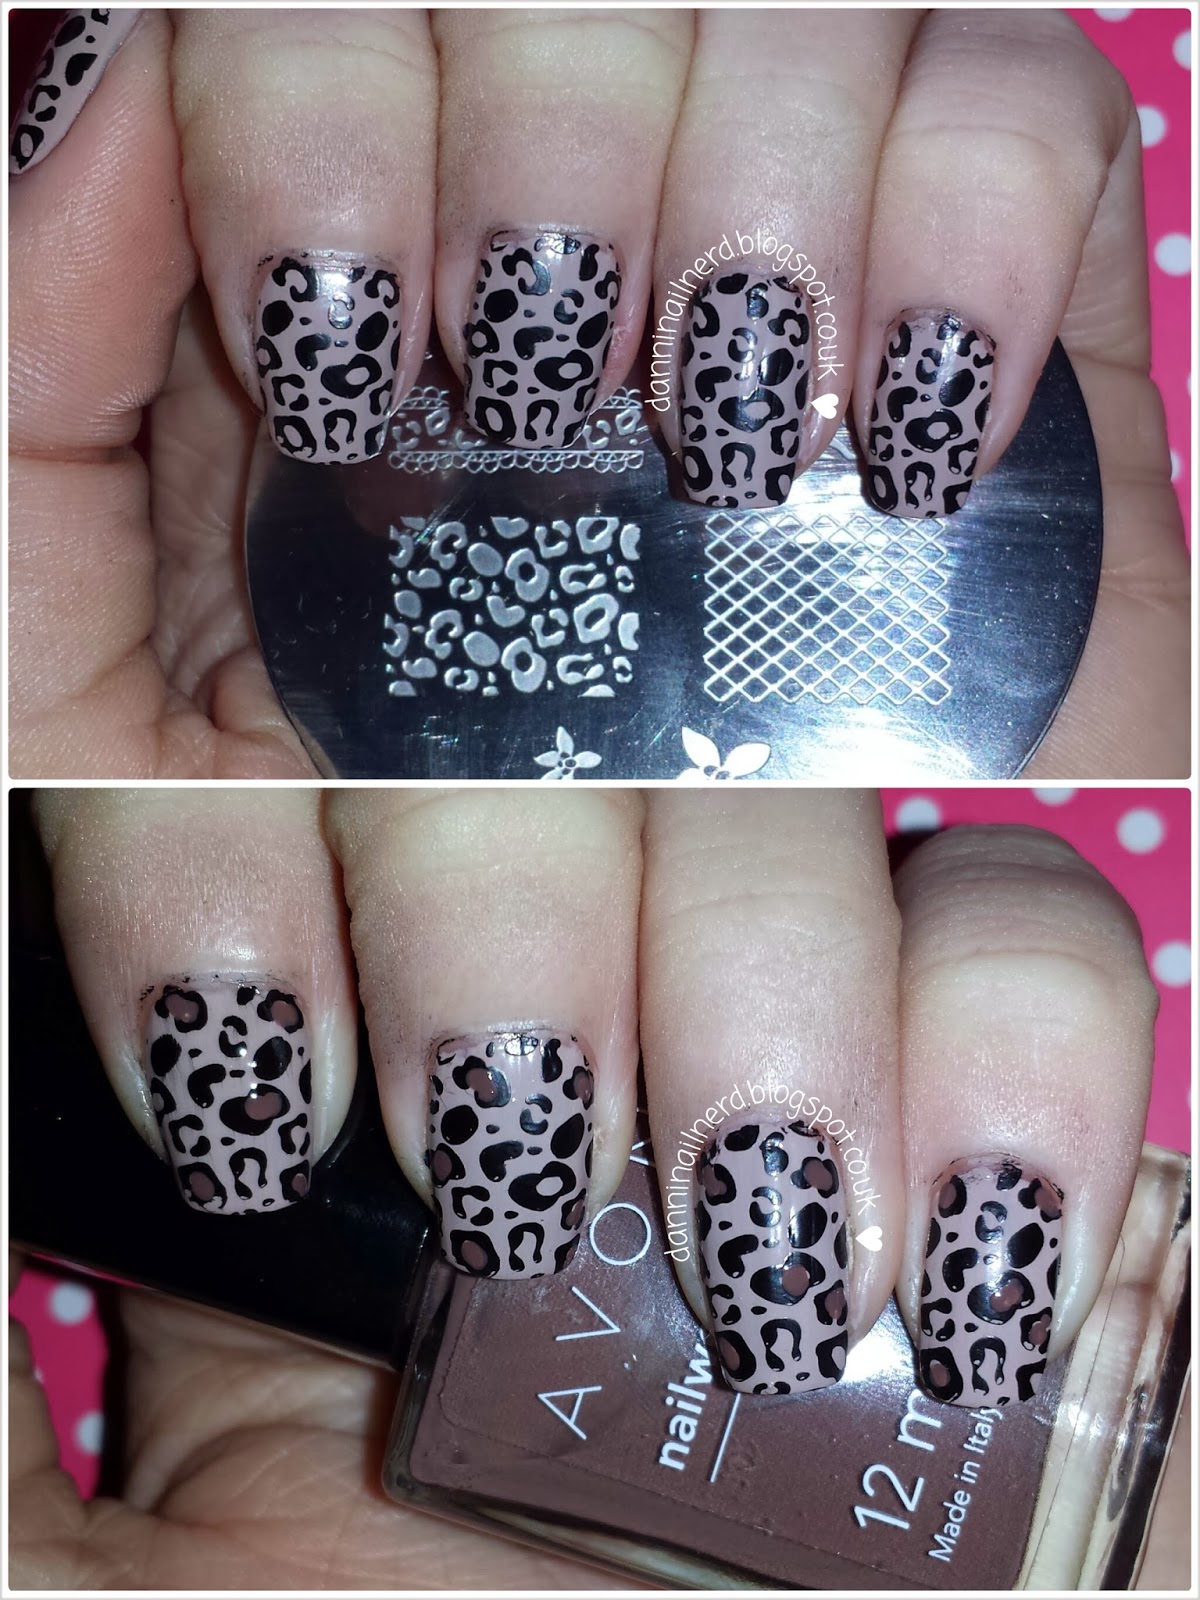
Thursday, 12 December 2013

So Sad!

Hey everyone! Sorry I haven't posted anything for a while.

I decided to give my nails a little break then I noticed something weird on a few of my nails, went to the doctors and turns out I have a fungal nail infection :(
EWWWW!

I have been given this special nail polish stuff to put on every week, but the doctor said it could take a few months for it to clear up! So I am heartbroken because I won't be able to do any Christmas themed manis!!

I am cutting my nails down as short as I can every time I apply some more nail polish so hopefully it will clear up a lot quicker :)

In the meantime I will probably do some pedi tutorials instead, I did paint my toe nails the other day but they don't come out very well in pictures so I will post the next ones!

Also don't forget to check out my Etsy shop for my nail polish jewellery, I will gradually be adding more designs, but I will also take requests for custom orders.

Thank you for visiting and as always if you have any questions or anything to say then please comment :)


Friday, 22 November 2013

Jewellery Handmade By Me :)


I have left my nails plain for a little while now, I will be doing them again soon though :)
In the meantime I have been making some set of jewellery which include a pair of earrings, an adjustable ring and a pendant.

For information on how to buy these from me please go to my google+ profile in that post are also some more detailed pictures and more information.

I am selling the heart sets for £12.50 and the circle sets for £12, all jewellery is silver plated and the cabochon beads are made from glass. These will make a perfect christmas present!

I have only made a few patterns so far, I have plain sets left so if you would like a certain pattern or would like different colours then go to my google+ profile for details on how to contact me.

As always if you have any questions or anything to say then please comment below.


Tuesday, 5 November 2013

Sexy Leopard ;)


So this weeks challenge on the Nail Polish Queens google community is Sexy Seductress, and this is my take on that challenge and how I did it :)
To me Leopard print is very sexy and I think the bright pink and glitter complement it well, so I hope you like it!


Firstly I applied my usual basecoat and then I painted two coats of MUA Shade 19, a lovely pale beige.
Normally I would post two pictures, one with and one without flash but, from now on I am going to just post one picture. I have messed about with my camera settings and made sure that the picture looks as close to how the polish looks to me in real life on each picture.


Once the colour was dry I then used Konad plate m57 along with Konad black special polish to stamp the leopard print pattern. I think this plate has had the most used out of all my stamping plates. So if you have not yet tried stamping I recommend buying this plate to test it as then you will definitely be buying more :P
I then used Avon Vintage Boutique and a dotting tool to randomly fill in some of the spaces in the leopard print pattern.


I did all of the leopard print pattern yesterday and didn't finish what I wanted to do as I went to see Thor instead, which by the way is very good :)
So then today when I came to finish my mani of course I had been thinking of ways I could do it differently so I ended up removing the leopard print from my middle finger. Instead I painted two coats of Barry M Majesty, this is from the royal textured glitter collection. I have the whole set so if you want to see swatches then click here!


Then on my thumb and ring fingers I used a normal piece of sticky tape and applied it diagonally along the top part of my nail. I did this the day after so my polish was perfectly dry, but of course if you are doing this all at once you should wait until it is as dry as possible, nail drying spray will help. Once the tape was on I then applied as thick a coat as possible of China Glaze Heli-Yum and removed the tape, do this quickly as the polish will start to go tacky and then your line won't be as straight. If there are some bits where you can still see what is underneath then you can carefully paint a little polish over them like I did.
With this mani it wouldn't matter too much if the line isn't completely straight but I prefer to do this so that I get all the nails to look the same. Along the line I again used Barry M Majesty along with a dotting tool and carefully dotted along some of the polish. I haven't put a top coat over this as of course it is a texture glitter polish, but I may do later I haven't decided yet.


And that is the finished mani :)
I have done a mani similar to this before with zebra print, so if you want to see that then click here!

I hope you all like this design and as always if you have any questions or anything at all to say please comment below.


Tuesday, 29 October 2013

Spooky Waterfall


I wasn't getting much inspiration for a Halloween mani, but I used colours that I think look Halloween-ish to create this waterfall mani instead as it is the challenge for this week on the Nail Polish Queens Google+ community. If you love nail art then you should definitely join this community, everyone is really friendly and helpful and people are always posting great designs so you will get lots of inspiration! They now also have a blog too :)


I had this acrylic nail clipper delivered last week (from Amazon for £2.37) and used it to cut my nails, I think this has helped me get a nicer shape. I wanted my nails to be a bit more square but was having difficulty doing so and this has done it very well!


So to start this mani I applied my usual basecoat, I used Barry M Basecoat Topcoat and Nail Hardener. I then applied 2 coats of Barry M black. I have  had this a while and it is running low and is going gloopy, so I have ordered a black from W7 and will let you know what it is like when I get it.


On my thumb and ring finger I applied a coat of Sally Hansen Hidden Treasure (the original version not the new one!). This is amazing over any colour, but over black as I tried to show in the pictures it gives off orange and green in the flakes which is perfect for this mani.


On the thumb and ringer finger I also applied a black diamanté stud near the cuticle. Then for the waterfall effect on the other nails I used a thin nail art brush (this was from one of the cheap sets you can find on eBay and amazon). I put some of each nail polish in a dappen dish and used the brush to create various length lines that thin out at the end. To do this I dragged the brush to make the line and just lifted away near the end.
The colours used are all China Glaze and from left to right they are Sun Worshiper, Def Defying and Spontaneous. I think these colours go quite well for Halloween.


I then applied my topcoat and here is the finished mani :)
I think this all goes together very well and I love this waterfall technique! Was a lot easier to do that I thought it would be too.


As always if you have any questions or anything at all to say please comment below! Thank you for visiting :)


Tuesday, 22 October 2013

Emerging Swirls


If any of you are regular visitors to my blog you may have noticed me making a few changes over the last couple of weeks. First of all I have changed the layout to be more simple and as of this post my picture watermark is different as I have finally worked out how to curve the text around my nail. I think it looks a lot better like this :)
Another change I have made is that I have made some more social network profiles. These are now accessible around my page and at the end of every post. They link to my Bloglovin', Pinterest, Tumblr, Google+ and Twitter. So don't forget to follow if you also have a profile with any of these sites!


Anyway onto my latest mani...

In my previous post I said I was going to use my pattern scissors for my next mani, I did this mani last night and it took me a while as I was a bit dizzy. I did try cutting the strips I wanted with a zig zag design, but I wasn't getting them as equal as I wanted so in the end I got frustrated and did this instead :)
However I will try my best to use them when I feel well enough to fully concentrate.


Firstly I applied my basecoat, I used Barry M basecoat, topcoat and nail hardener. Then I painted 2 coats of China Glaze Re-Fresh Mint. This is a lovely really light pastel mint colour.


On my middle and ring fingers I created a gradient. For this I again used China Glaze Re-Fresh Mint along with China Glaze For Audrey and Barry M Gelly Guava. These colours are very closely matching they just get gradually darker so a very sublte gradient but I love these colours!


I applied a topcoat on top of the gradient nails as when I sponge the colours onto my nail they sometimes go a bit bumpy. Once this was dry I used Pueen plate Pueen13 and Barry M Gelly Guava to stamp this swirl design.


Then on the rest of my nails I painted a coat of Sally Hansen's Hidden Treasure. In this post I show this polish applied to various colours to show how different it can look, it really is a beautiful polish. I was really lucky to get this as it has been discontinued and is hard to find and generally quite expensive. But just do a lot of researching and hopefully you can find one somewhere!


And this is the finished mani with topcoat applied. My aim with the gradient nails was for the swirl pattern to gradually emerge and I think it looks quite good! I will definitely be using this effect again :)


I hope you all like it too, and as always if you have any questions or anything at all to day please comment below and I will reply!


Monday, 14 October 2013

Pattern Scissors


I completely forgot to post about these. I had these patterned scissors delivered last week. I know they aren't technically nail related, but I am going to use them for doing my nails. 
I have also got some A4 pages of label paper, so my thought is that I can cut out patterns with these scissors to stick on my nails. I haven't tried it yet, but hopefully things will turn out how I expect.
I will probably do my next mani using this method so keep a look out! :)


They also came in this caddy stand so they can look pretty next to all my nail polish :)
I bought these from Yellow Moon and they were £12.99 with £2.99 delivery on top, which I thought wasn't too bad!

As I said I will try and do my next mani using these scissors so keep a look out and let me know what you think.

And as always if you have any questions or anything at all to say then please comment below :)